Update:
You might want to check the updated version of this post HERE.
*** *** *** ***
For many reasons, you might want to manually configure Outlook to work with Office 365.
Here are some obstacles you may encounter:
- You don’t have the Office 365 Sign-in assistant available.
- No Autodiscover record published.
- You’re working on Wndows Server 2003 and can’t install Office 2010 hotfix kb2544027. (If you want you can install only the .msp file, it skips all the prerequisites)
I tried following Microsoft’s Article about how to do it, no luck.
Finally, after doing some digging, here’s how to do it:
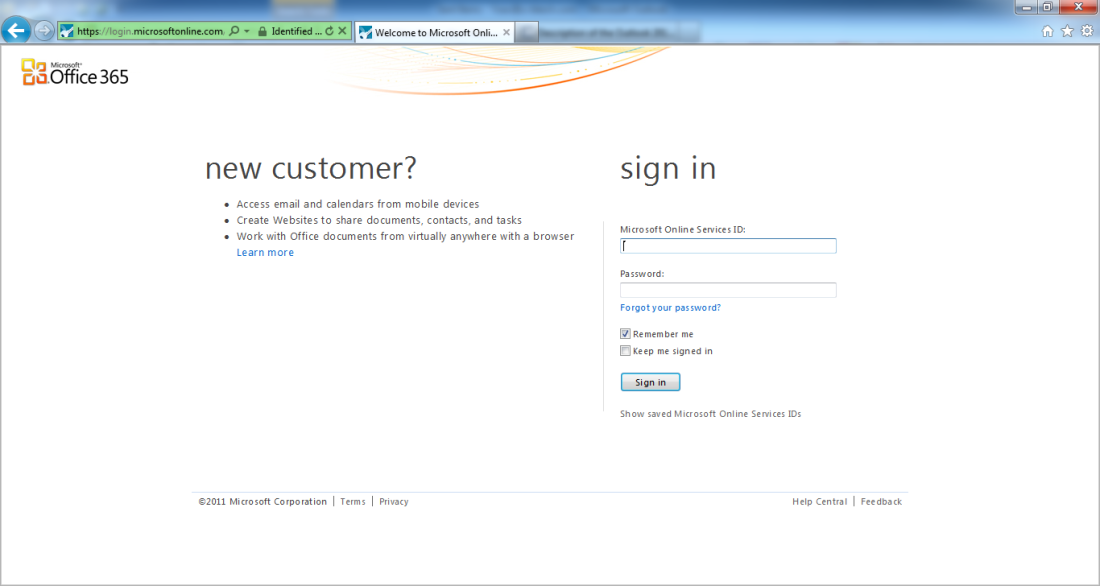
Log on to Office 365 OWA at https://outlook.com/<your.domain>:

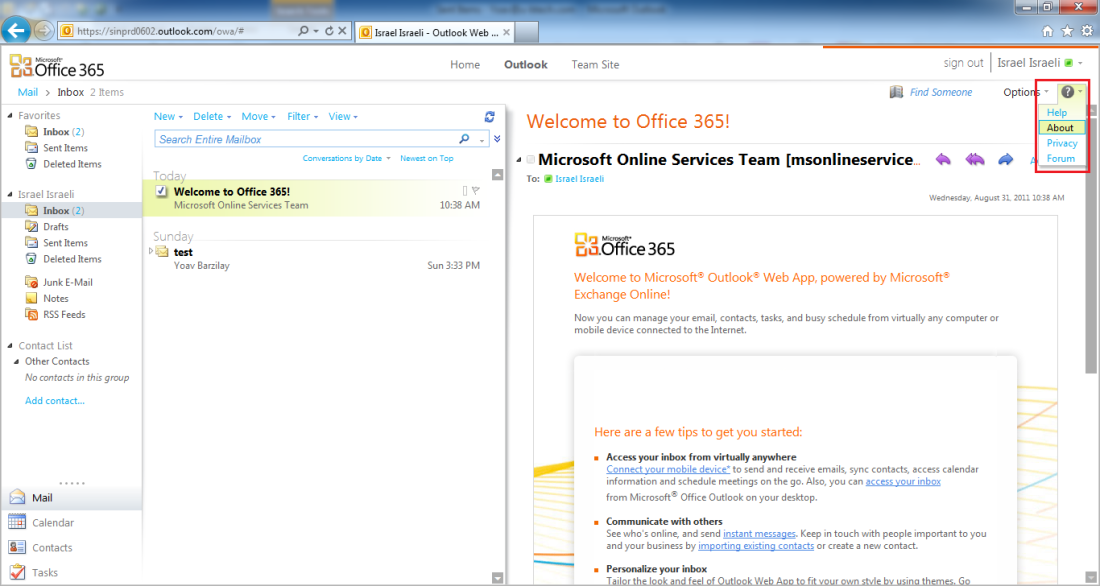
Once logged on, go to “Help, About”:

In the new window, look for “Host Name”:

Copy the the host name and close this window.
Now we can create a new profile in Outlook with the following configuration;
Choose to manually configure server settings:

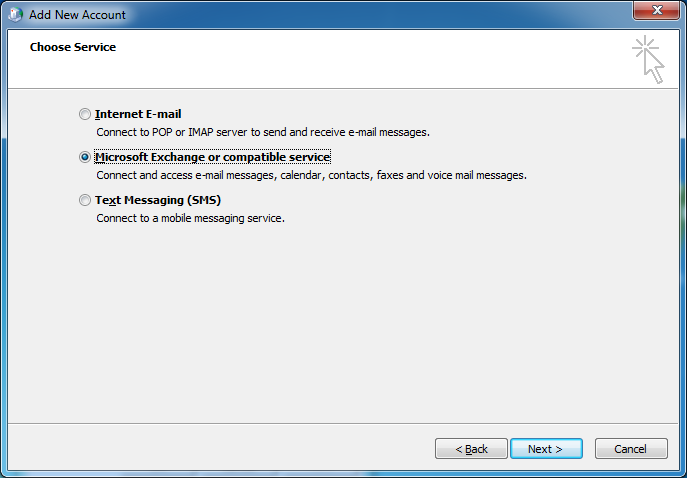
then choose “Microsoft Exchange or compatible service”:

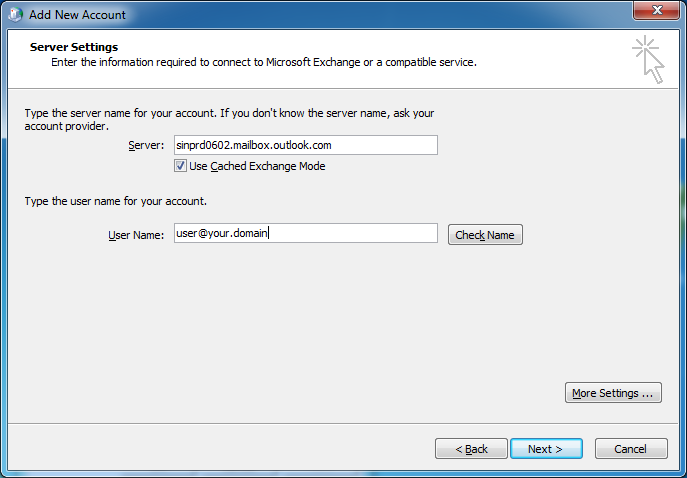
in the Server Settings window in the Server field, paste the name of the Host Name you copied earlier.
Now, for this to work correctly, you need to add the word “mailbox” betwin the Host name and the rest of the FQDN. So if my Host Name is “sinprd0602.outlook.com”, my Server name here should be “sinprd0602.mailbox.outlook.com”. Do the same for the name you copied:

Don’t forget to enter your Office 365 email address at the “User Name” field, then click “More Settings” and go to the “Connection” tab. Check the “Connect to Microsft Exchange using HTTP” box and click “Exchange Proxy Settings…”:

In the next window, fill the following details:
Type the Host Name you copied earlier in the “Use this URL to connect to my proxy server for Exchange” field.
Check the “Only connect to proxy server that have this principal name in their certificate” box and type: msstd:outlook.com.
Make sure both checkboxes are marked for connecting using HTTP first, and make sure you set the authentication method to “Basic”:

Click “OK” twice, then click “Check name” and enter your password at the prompt. the server and user names should be underlined:

Click “Next” and “Finish” and open Outlook, enter your password if prompted. That’s it, You’re connected!


