It’s been out quite a while and it works just fine. Here’s how to enable users to communicate with Lync server from their mobile devices…
Prerequisites, clarifications and supported platforms:
- You must install Lync Server CU4 (KB2493736) for this to work. I usually download the LyncServerUpdateInstaller.exe file and let it automatically install all the needed updates. (If you have a more recent update – It’s already on there).
- You must download the “Microsoft Lync Server 2010 Mobility Service and Microsoft Lync Server 2010 Autodiscover Service” McxStandalone.msi. Don’t tempt to just run it now, we have a few things to do before that.
- Your Edge server is used only for push notifications, via Lync Online. You can run the CU4 installation tool there to update your server, but you must not install the mobility update on your Edge Srver.
- Your reverse proxy (ISA\TMG\UAG) or any other device you’re using for that matter is what we’ll use to publish this service. Infact, we use the meet.yourdomain.com publishing rule.
- If you feel like being useful, pre-publish a new external DNS A record called LyncDiscover.yourdomain.com and point it to the IP adsress of your ‘meet’ rule.
- I recommend using a trusted, valid, 3rd. party certificate on your reverse proxy server – it saves you loads of trouble.
- There are currently Lync mobile apps for WP7, Android, iPhones and iPads. I know not about any Symbian apps soon.
- There is something Blackberry-ish, Never saw it working.
So, Let’s get started.
Install the updates needed by launchig the Lync Server update installer from where you saved the file:
Once finished, the installer shows you you’re all good. It also saves the installation logs of every update in the folder from which you launced the installer.
After installing the updates, we need to update the system. We will use the following Lync Powershell command to do so. If you’re using a single standard server like me, your command should look like this:
Install-CsDatabase -Update -ConfiguredDatabases -SqlServerFqdn "FEServer.domain.local"
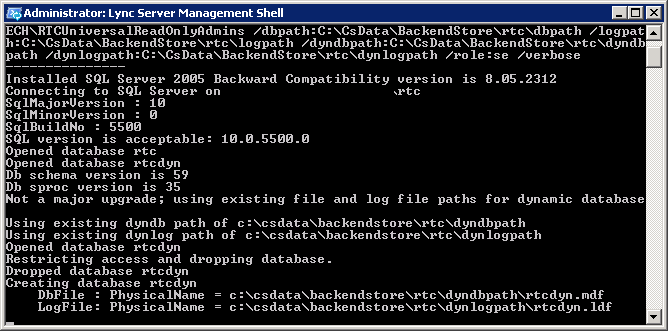
It should give an output lke this:
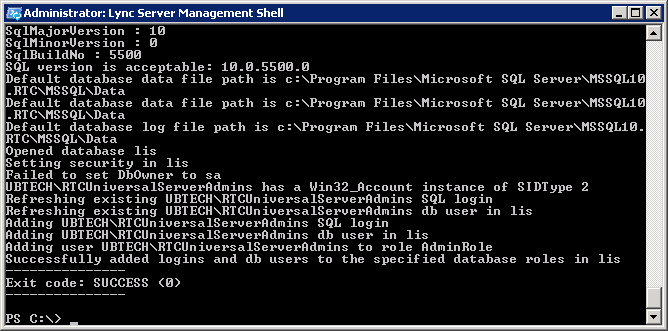
And end successfuly, like this:
Now we can start configuring the system for the mobility part. This will be done mostly by using the Lync Server Management Shell.
A prerequiste for this service to work is to have IIS Dynamic Compresion enabled. It can be quickly installed using two commands in Poweshell:
Import-Module Serv* (You can type the whole “ServerManager” command, but I always end up typing it twice so I’m getting lazy here…)
Add-WindowsFeature Web-Dyn-Compression
To configure the listening ports for the sevice, we will run one command twice, with two variables; the Primary listening port (internal) and the External listening port. These ports are documented in the Microsoft Lync Server 2010 Mobility Guide. To do that we will use the command “Set-CsWebServer” and provide our Front-end server’s FQDN and ports:
Set-CsWebServer -Identity FEServer.domain.local -McxSipPrimaryListeningPort 5086
Set-CsWebServer -Identity FEServer.domain.local -McxSipExternalListeningPort 5087
Then, we will update the topology using the followong command:
Enable-CsTopology
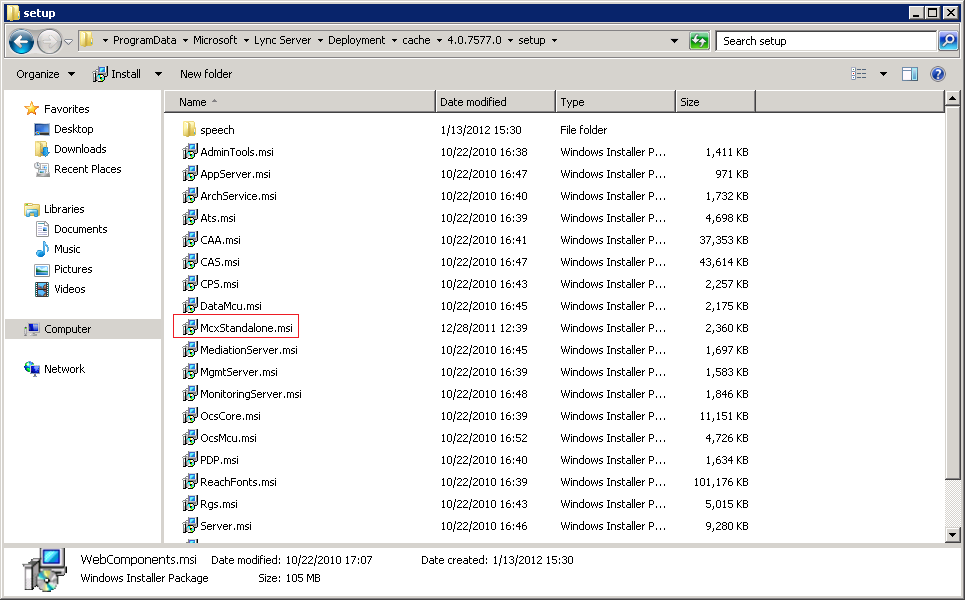
Now, remember I told you not to run the McxStandalone.msi file? here’s why: You should now take this file and paste it to the following location:
"C:\ProgramData\Microsoft\Lync Server\Deployment\cache\4.0.7577.0\setup" and just paste the file there:
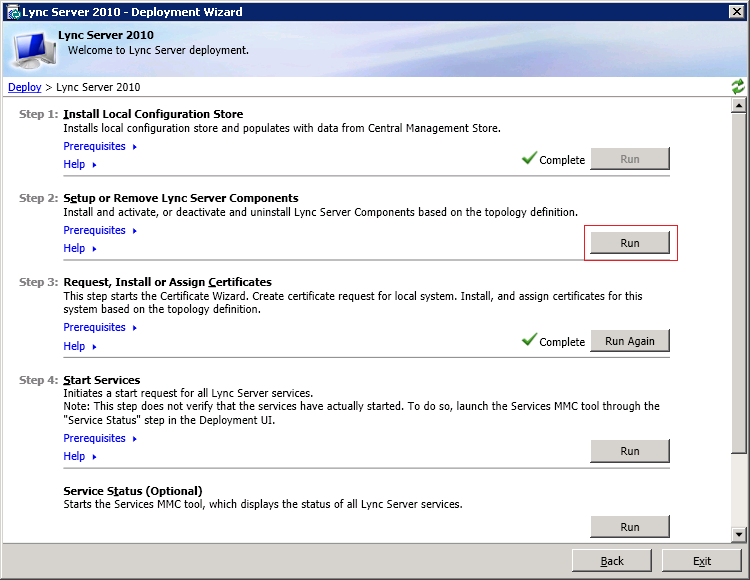
After the file is there, you can either launch the Lync Server Deployment Wizard and choose “Setup or remove Lync server components”:
Or just go to the Lync Server deployment folder (“C:\Program Files\Microsoft Lync Server 2010\Deployment”) and run the file “Bootstrapper.exe” This will install the update directly from the folder where we put it.
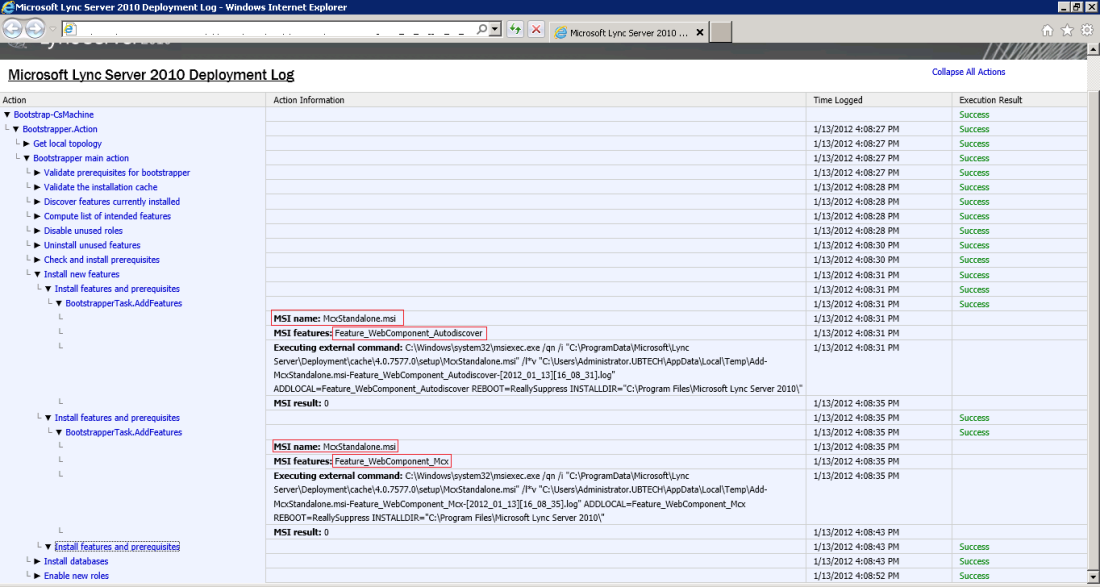
To view the log browse to your %tmp% folder and look for the latest Bootstrap-CsMachine log. If everything worked right, you will see a similar screen to this:
This tells you you have successfuly installed the service!
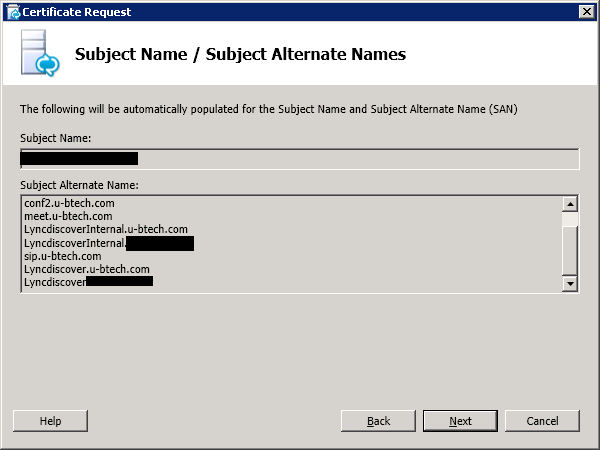
But we’re not done yet. If you used the Lync Server Deployment Wizard, don’t close it just yet. If not, this might be a good time to open it. We now need to generate a new certifiacte request and assign a new certifiacte for the Front-end server.
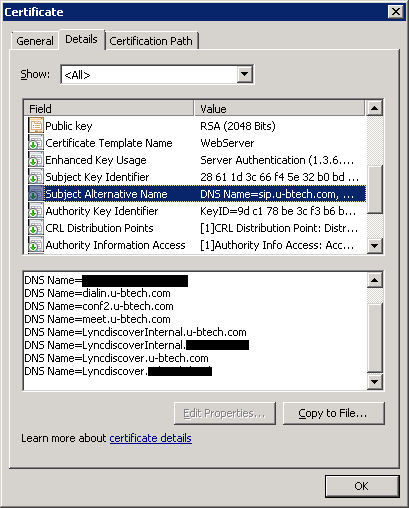
Why you’re asking? well, the answer will be revealed in the certificate wizard: If you look closely, you’ll see that two SANs were added automatically to the request: Lyncdiscover and LyncDiscoverInternal. They are added to every SIP domain configured in your topology:
You can now assign the certifiacte to your server and move on to the nest step:
The service works now, you just need to configure the reverse proxy. But wait – what’s a mobile app without push notifications? Well… Setting that up is rather easy if you have Lync Federation enabled and is done by running four Powershell commands:
New-CsHostingProvider –Identity "LyncOnline" –Enabled $true –ProxyFqdn "sipfed.online.lync.com" –VerificationLevel UseSourceVerification
New-CsAllowedDomain –Identity push.lync.com –Comment “Mobile Push Notifications”
Set-CsPushNotificationConfiguration –EnableApplePushNotificationService $true –EnableMicrosoftPushNotificationService $true
Set-CsAccessEdgeConfiguration -AllowFederatedUsers $true
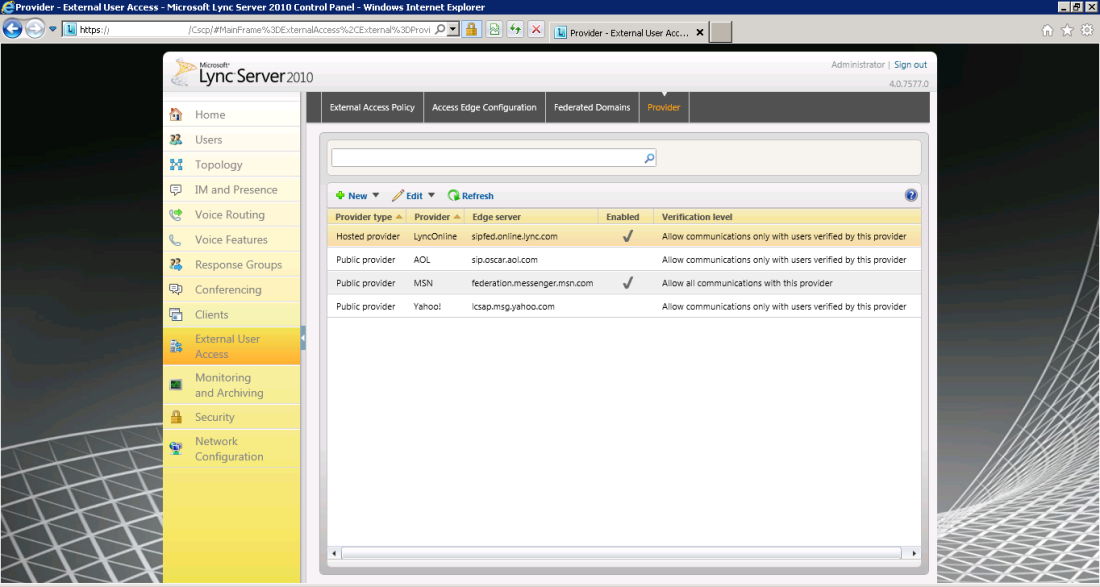
If you’ll check your Lync Server Control now, you’ll see you have a new provider:
And a new federation partner:
That’s it, configuration on the fron-end side is done.
Now, for your reverse proxy:
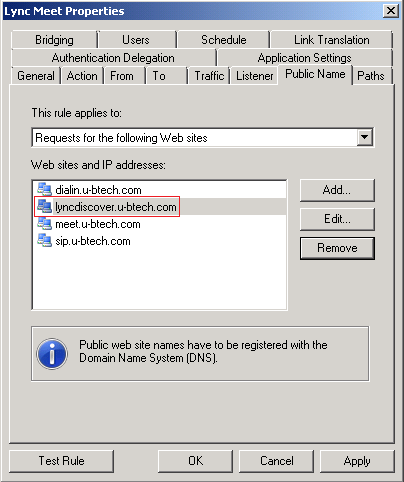
If you’re using TMG like I do, it’s rather easy. All you have to do is add “Lyncdiscover.youdomain.com” to the Public names and make sure you have c ertifiacte that corresponds to that name on your listener:
That’s about it.
Now, let’s test what we just did:
I have a WP7 device and want to connect it to Lync. If everything was configured correctly, we will go through these steps:
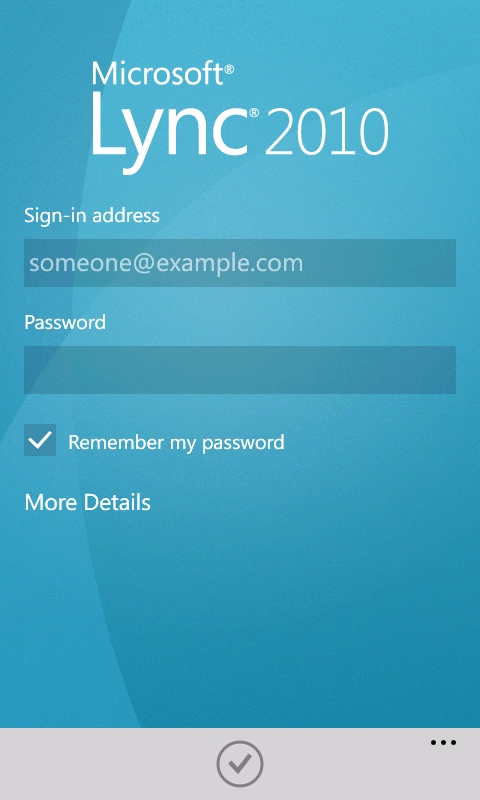
I’ll launch the Lync on my phone, it will show me this screen:
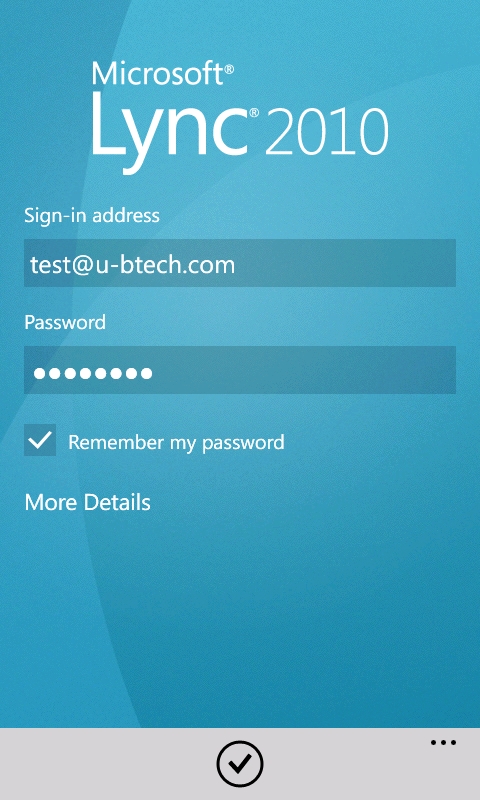
I will now insert only my Lync sign-in address and my password – this is all it takes for automatic sign in!
The app thinks for a while them launches the first screen:
It will ask you for your phone number – You can skip this step if you don’t have Enterprise Voice implemented:
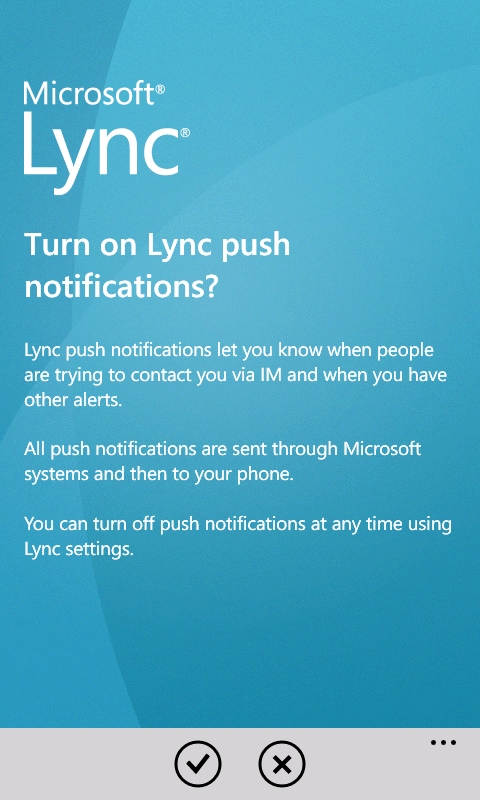
Now it will ask you if you wish to enable push notifications:
And That’s it – you’re signed in:
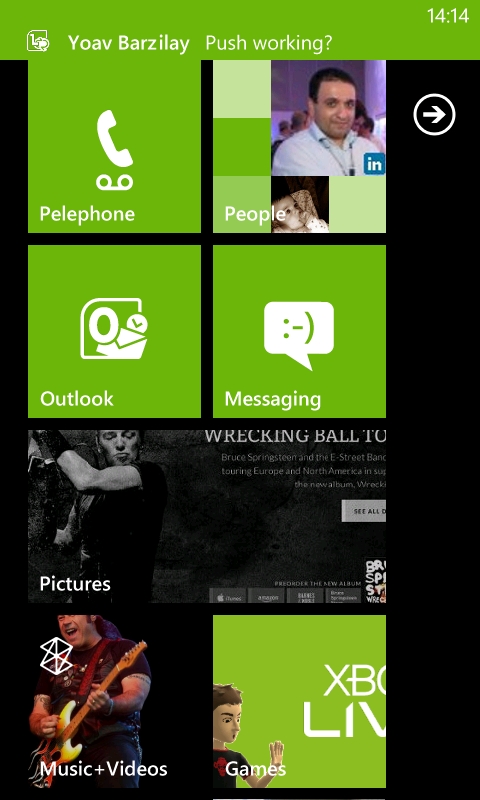
How does push notifications look like?
Look at the top of the screenshot, this is what you see when you get the message:
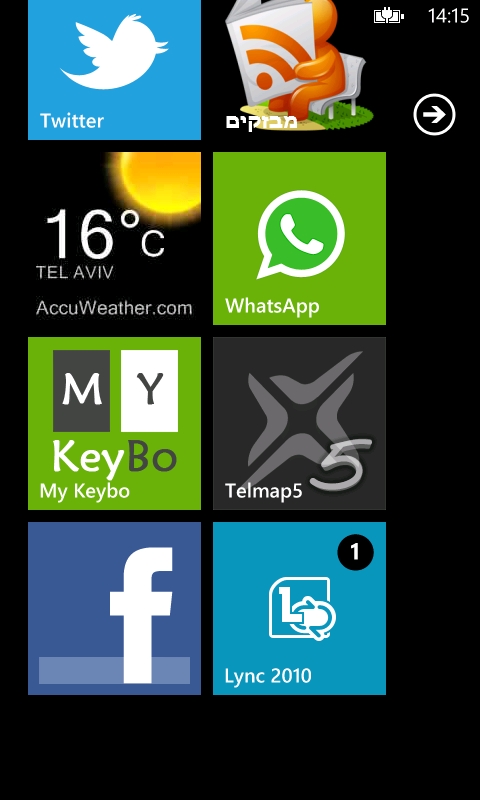
If you did not respond to the notification, the live tile will remind you you have one unread message in Lync:
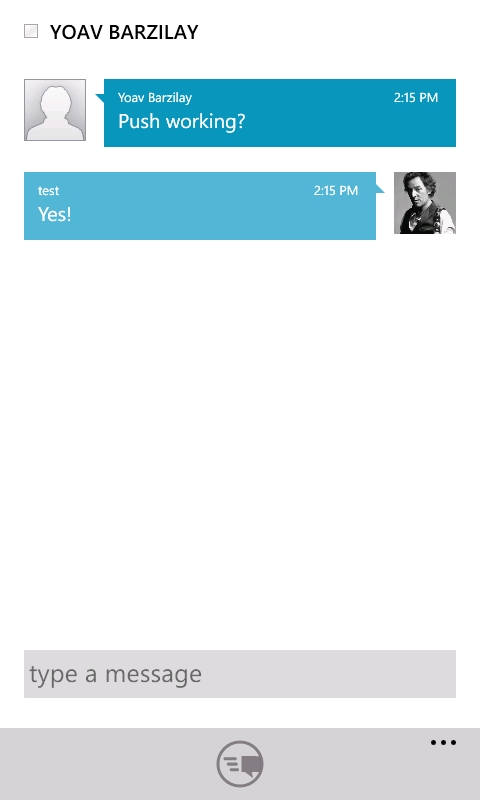
Once you open the app, you will see the message:
That’s it, we’re good to go.




Any need to add internal or external Dns entries?
Yes, you will have to add an external A record (and and internal one, if you’re working with a split-DNS configuration), named “LyncDiscover.yourdomain.com”, that will point to the same IP address as your “meet.yourdomain.com” address.